You're doing serious business on your Mac—so much serious business that it doesn't all fit on your screen. You might think you need to buy several large monitors to contain all of your business, and maybe that's true. But a few tweaks can free up a lot of space on your Mac, which just might be enough to accommodate all of the business you need to be doing.
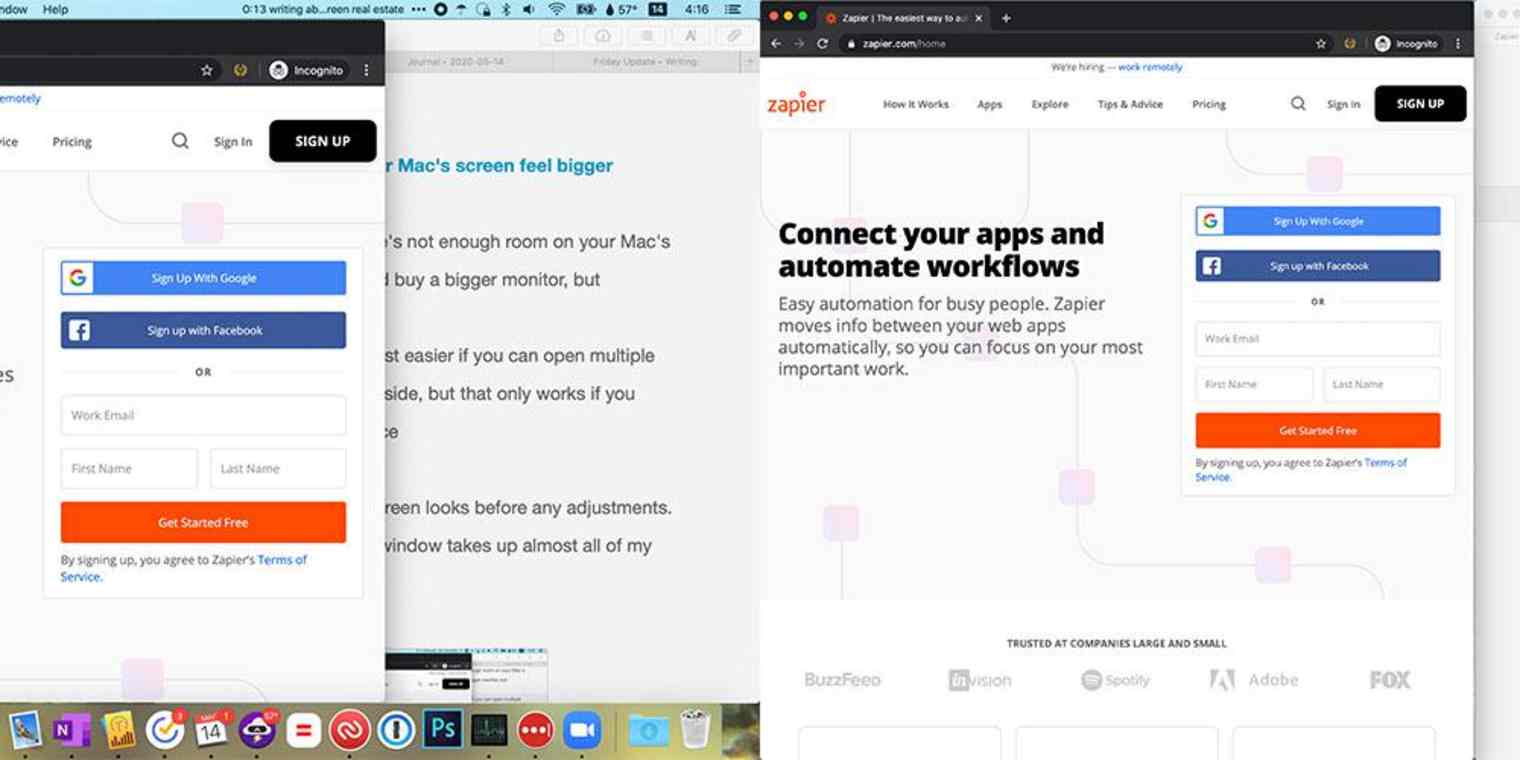
For example, some tasks are easier with multiple windows open side-by-side. I like to have a browser window open for research and another application open for taking notes. This isn't easy if you're using a Mac with the default settings—there's not enough room to put two decently sized windows alongside each other. Here's how my screen looks before any adjustments.
A single Chrome window takes up almost all of my screen space, making it hard to take notes. The dock and menu bar also take up a decent amount of vertical space, which makes it even more crowded.
You can free up space by adjusting the display settings, hiding the dock, and hiding the menu bar. This gives you a lot more room to work with.
Here's a quick guide to doing all of that, plus tips on setting up multiple desktops for even more room.
Shrink your Mac's windows
The first thing you're going to do is adjust the display settings, shrinking how much room everything takes up. Head to System Preferences, which you can find by clicking the Apple logo in your menu bar and clicking System Preferences. Next, click Displays.
Under Resolution, check the Scaled option.
This will bring up a number of scaling options. Click More Space, if it's available.
Your screen will adjust, and you'll quickly notice that everything takes up a lot less room.
Note that, if your Mac has multiple displays, you'll need to configure this setting on each of them.
The potential downside here is that everything is a little bit smaller. To me, the tradeoff is worth it. For you, it might not be—particularly if you find yourself squinting at the computer already. I suggest you give it a shot and see if you like it because you can always change it back later.
You've now freed up some serious space for some serious business, but you need more. Let's keep going.
How to hide the dock on a Mac
The dock, by default, is always there. But do you need to see all of your icons all the time? Does knowing that you have 103 emails waiting for you really make you more productive?
I don't think so. You can hide it by right-clicking or control-clicking the horizontal line that separates sections, then clicking Turn Hiding On.
This will hide the dock by default, freeing up a bunch of vertical space.
You might miss your dock. That's understandable, but don't worry—it's not gone. You can visit it anytime by moving your pointer to the bottom of the screen. It will pop back up for you. But when you don't need it, it won't take up any space, meaning you have more room for all of your serious business.
If you're not ready to hide the dock altogether, there's a compromise: you can shrink it. Hover your mouse over the line that separates the sides of your dock, then click-and-drag up and down to resize.
You can make a tiny dock.
You can optionally right-click, or control-click, and Turn Magnification On.
This will expand whatever icon your mouse is currently hovered over, allowing you to see more detail.
How to hide the menu bar on a Mac
Want to free up just a little more room? You can also hide the menu bar at the top of the screen. Head back to System Preferences, then click General. You'll find the option to Automatically hide and show the menu bar.
Check that box, and the menu bar will be hidden by default.
Again, the menu bar isn't gone—it's just hidden. Move your mouse to the top of the screen and it will pop down for you, then disappear when you move the mouse away.
Remember that you did this! It might be disorienting otherwise. The first few times you sit back down at your computer, you might be overwhelmed by all of the serious business that fits on your screen at once, and you might also be confused about where your dock and menu bar went. Don't panic, and try to remember that you hid everything. You can always change things back if you can't handle it. I won't judge you.
How to have multiple desktops on a Mac
Mission Control is one of those features that most Mac users never use—and, to be fair, it is a little confusing. But it's also really useful, once you grasp it. It lets you set up multiple desktops, each with their own set of windows. You can then quickly switch between them.
Open Mission Control by swiping up on your touchpad using three or four fingers, or by using the keyboard shortcut control-up. This will show you all of your currently open windows.
Move your mouse to the top of the screen, and you'll see a thumbnail of your current desktop. There's also a plus sign in the top-right corner.
Click this plus sign to make more desktops.
You can make as many desktops as you want, then drag windows to them. You can quickly switch between desktops by swiping your trackpad with three or four fingers, or by using the keyboard shortcuts control-left or control-right.
This effectively gives you as many screens as you want, without the need to buy more monitors and a giant desk to store them all on. I personally use different desktops for different tasks: one is for whatever I'm working on, another is for email and chatting with coworkers, and a third is for my calendar and to-do list. Having all of these things in separate spaces makes it easier to focus on the current task.
With these tips combined, you'll find you have way more room to work. Now get to your serious business.
Related reading: