• Home

  • Productivity

  • App tips

App tips

2 min read

How to move the Dock on your Mac to a second monitor

By Justin Pot · June 26, 2023
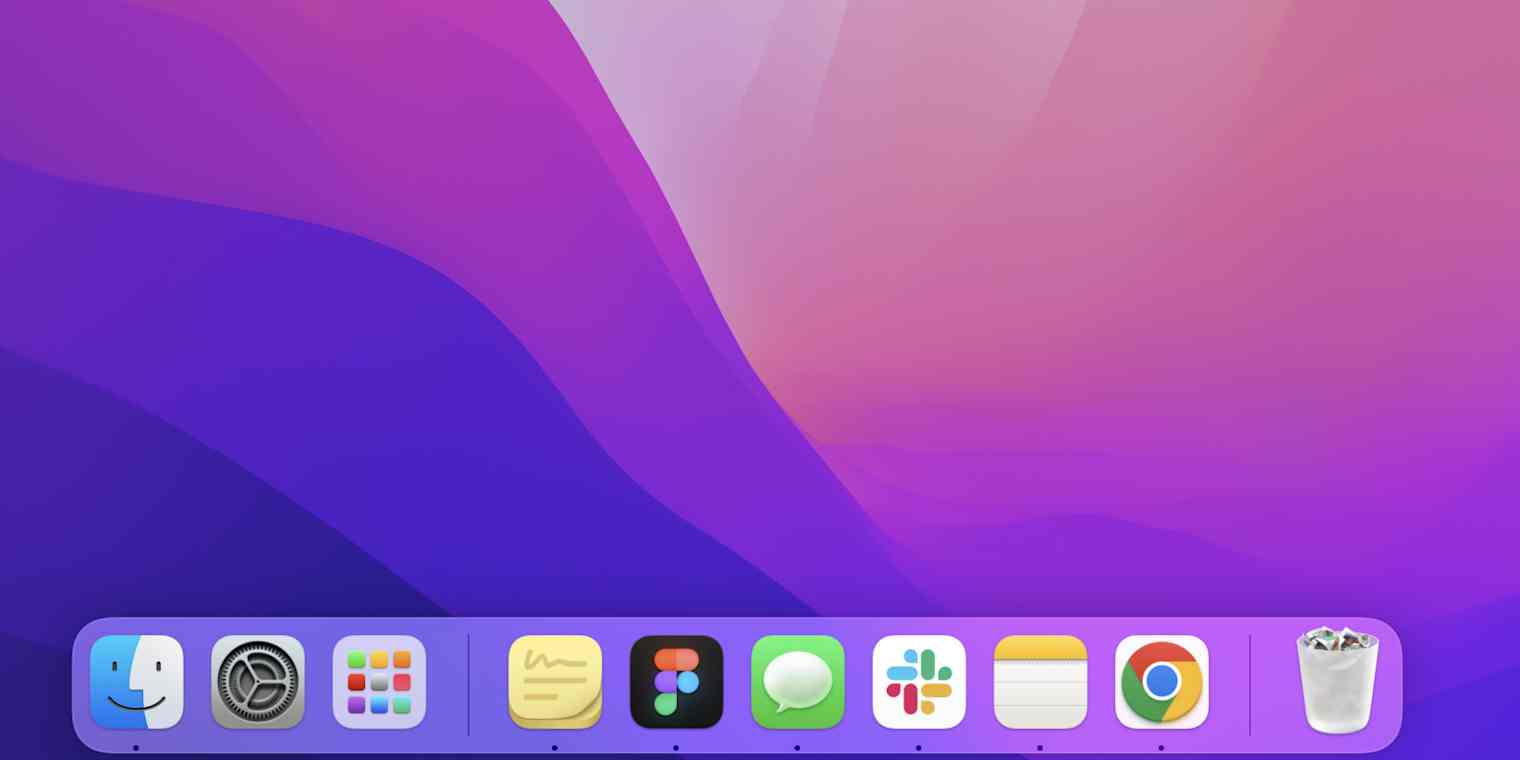
Hero image showing the Mac dock

When I'm at home, I plug my MacBook into an external monitor, effectively making it a desktop with two displays: my external monitor on the top, and my laptop below it. I keep current projects on the top display and planning tools on the bottom screen. The only problem with this setup is the Dock.

I like to put my Dock at the bottom of the screen. When I plug into my second display, though, the Dock moves to the very bottom of the laptop screen. I do most of my work in the top screen, meaning I have to move my mouse really far from my primary workspace in order to click an icon.

Justin's two-monitor setup

I'm not going to pretend this is a huge, life-altering problem: it's a paper cut at worst. Paper cuts are annoying, though. Which is why I'm glad I found HiDock, a free app that allows you to automatically change your Dock settings. 

Move your Mac Dock to another screen

Using HiDock, you can change how things work, depending on whether you're using your Mac's built-in display, only an external display, or multiple displays. You can decide whether or not to hide the Dock in each case, where the Dock should live, and how big it should be.

Choosing the placement of the Mac dock when using multiple monitors

For example: your MacBook's primary display probably doesn't have a lot of screen space compared to your external display. You could set the Dock to hide when you're using only the built-in display, then to show up when you're using your external one.

Or, if you're like me, you can set your Dock to be on the bottom of the screen when you're only using a single display and to show up on the right side when there are multiple displays. It's a nice amount of flexibility—and a feature I wish came included with macOS itself.

Bonus: Free up screen space on your Mac

While I'm talking about displays: did you know you can free up space on your Mac in the display settings? Just head to System Settings > Displays, and click the More Space option.

Freeing up monitor space on the Mac

This will shrink everything on your screen, giving you way more room to work with. It's not ideal for people with vision problems, but it's great if you want more room for your windows. 

Related reading:

  • How to optimize your Mac for productivity

  • The best Mac productivity apps

  • Alt + Tab on Mac: How to switch between windows on Mac

  • Use PowerToys Run to mimic Mac's Spotlight in Windows

Get productivity tips delivered straight to your inbox

We’ll email you 1-3 times per week—and never share your information.

tags

Related articles

Improve your productivity automatically. Use Zapier to get your apps working together.

Sign up
See how Zapier works
A Zap with the trigger 'When I get a new lead from Facebook,' and the action 'Notify my team in Slack'