The 3 Best Cloud IDEs for Backend Developers
Developer environments are personal things, and often include various settings files, specific language and framework versions, and other individual accoutrements. When you start a new project or test something out, you may feel compelled to make some changes to your delicate personal settings. Alternatively, you could take those preferences to the cloud using a cloud IDE, or interactive developer environment.
A cloud IDE will store settings for a project, allow you to share with others, and give you access through a web browser. You can keep all your files stored in the cloud environment and access tools like source control from an embedded command line.
I've recently tried out several cloud IDEs as I work to make it easier for developers to try out the Zapier Platform CLI. My use case is one that is likely familiar to many developers: Running Node 6, installing modules, and pushing changes from the command line. And I’d like to do this from a browser, without needing to install or run anything else locally.
| Icon: | App | Best for: | Price |
|---|---|---|---|
| Cloud9 | Fastest start | Free, plans start at $19 / mo | |
| CodeAnywhere | Extensibility | Free, freelancer plan starts at $7 / mo | |
| Codenvy | Self-hosted option | Free, upgrades start at $10 / mo |
There are other options for separating your environments, such as virtualization, but again those require noodling with your own computer.
Why Use a Cloud IDE
While generally moving your development environment to the cloud can keep you from installing and re-installing software locally, there are some more specific benefits, too.
- Try out a new language, framework, or tool without installing it locally
- Ensure your whole team has the same environment setup
- Use a separate environment for every client to keep projects separate
- Run unknown code without exposing your machine
- Help customers get up to speed quickly with your developer tool with ready-to-code environments
- Switch between computers whenever you want, without taking time to get set up
Keep these in mind as you consider the three best cloud IDEs for backend developers.
Cloud9
For the Fastest Start
Several of my Zapier colleagues had used Cloud9 before, so it was a natural place to start my search. Given how easy it was to get started, your own search for a cloud IDE may stop here. Cloud9 does require a credit card up front, as part of the signup process, which could be a deterrent for some—but it also offers a free version with a single private workspace (and unlimited public workspaces) for a painless option if you only expect to use the service periodically.
Once you’ve created your account, you’ll be walked through a series of steps to set up a workspace. While Cloud9 supports many languages and frameworks, I chose Node for this project. There was also the option to include a Git repository, so I included the Git URL for one of our example Zapier apps.
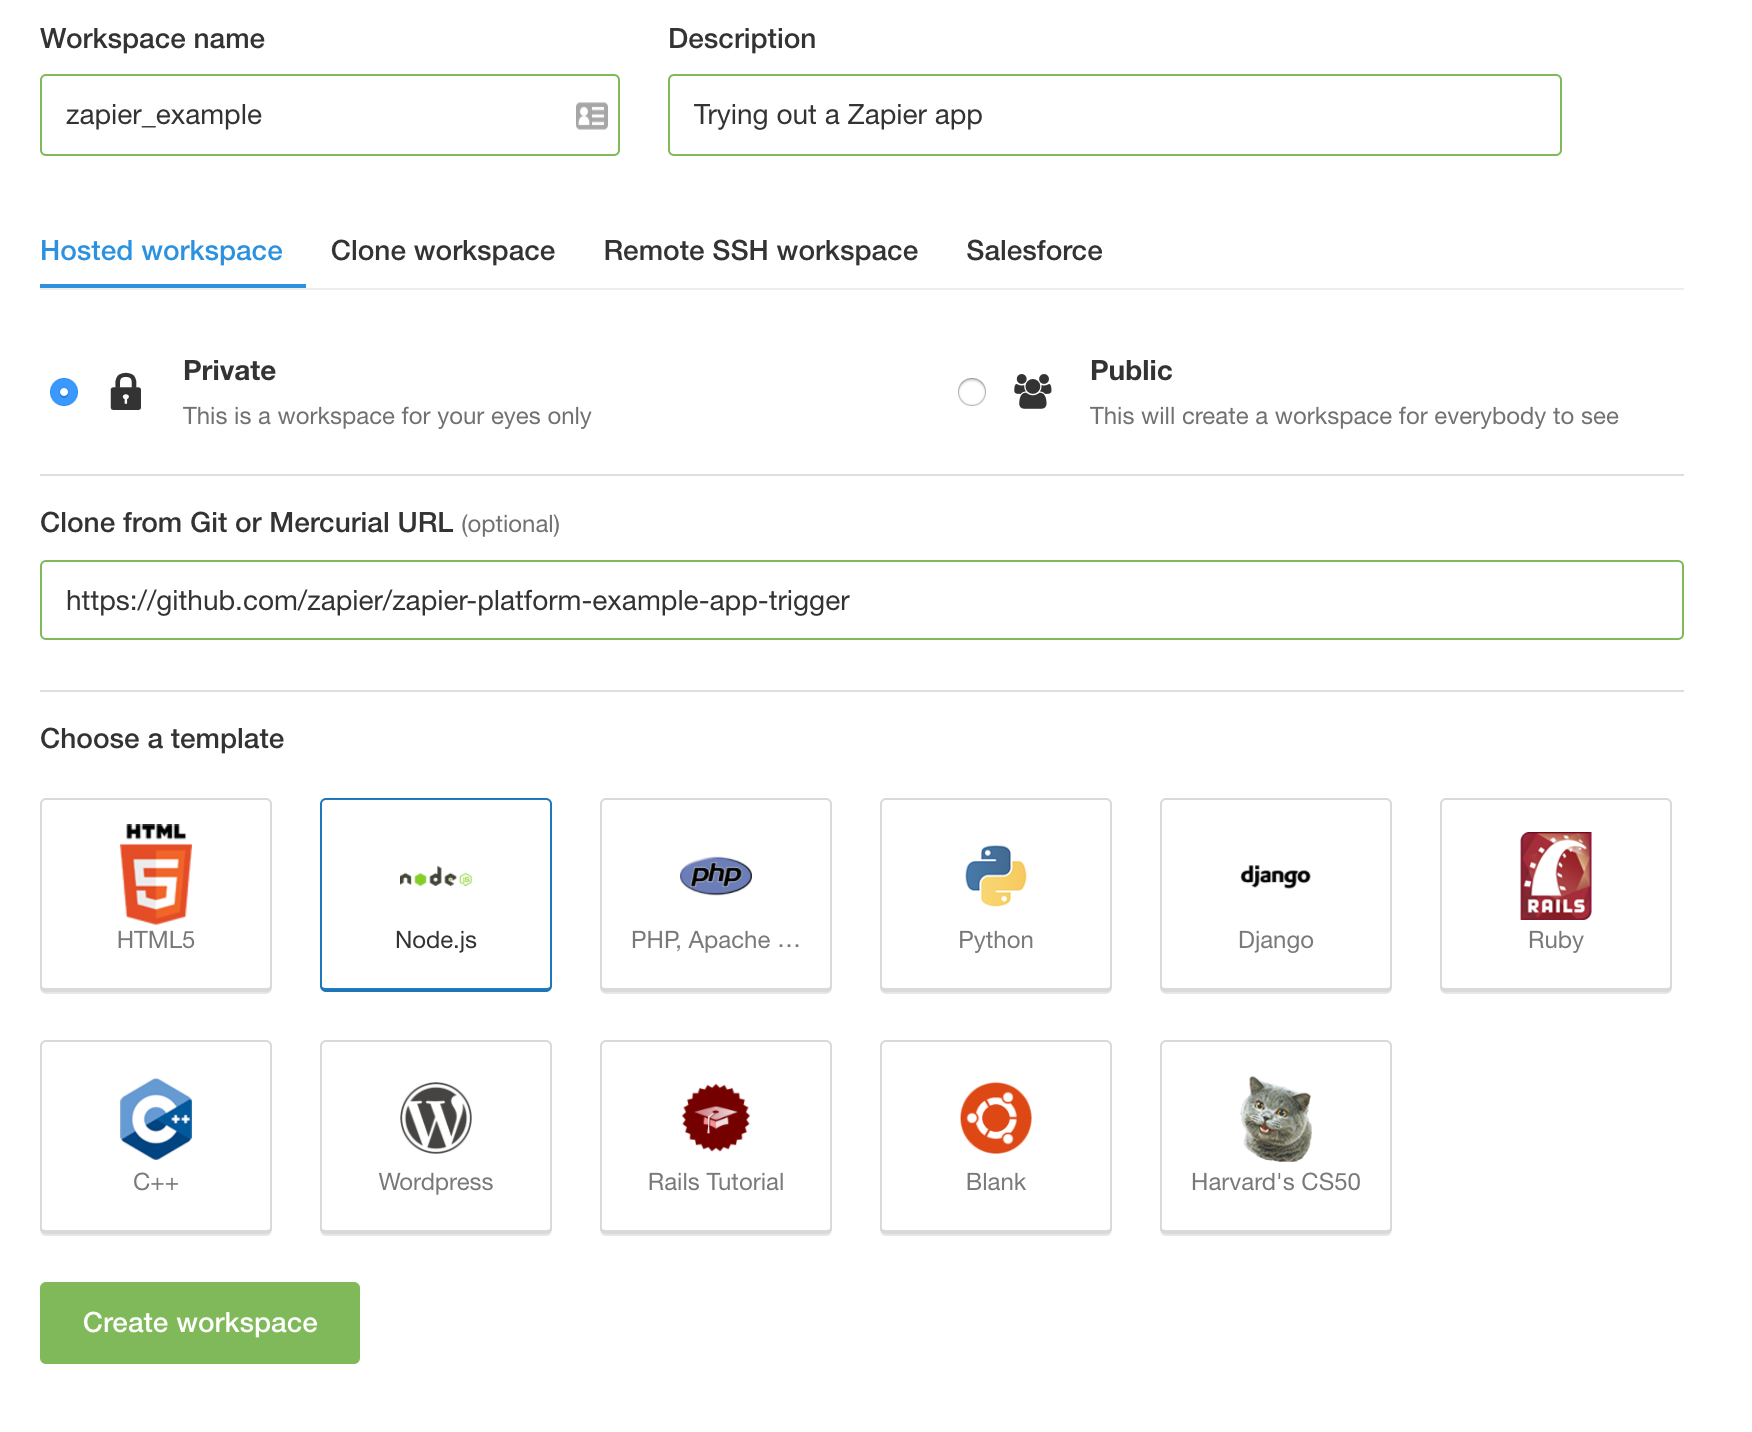
Dropped into my new workspace, I quickly discovered my friendly command line terminal. After a quick check, I found all of my tools pre-installed, including:
- Node
- Node Package Manager (NPM)
- Node Version Manager (NVM)
- Git
First, I installed the version of Node required by the latest Zapier CLI just as I would on my own computer:
nvm install 6.10.2
Then, I globally installed the CLI module:
npm install zapier-platform-cli -g
Finally, from within my repository directory, I installed its own dependencies:
npm install
Cloud9 acts like my local machine, yet I’m typing all these commands in a browser. There is little to no delay in typing commands. With everything installed, I can now use the Zapier CLI and log in to my Zapier developer account using zapier login to enter my credentials.
Since I already have a sample app, I can run zapier test to try check whether my app is working properly.
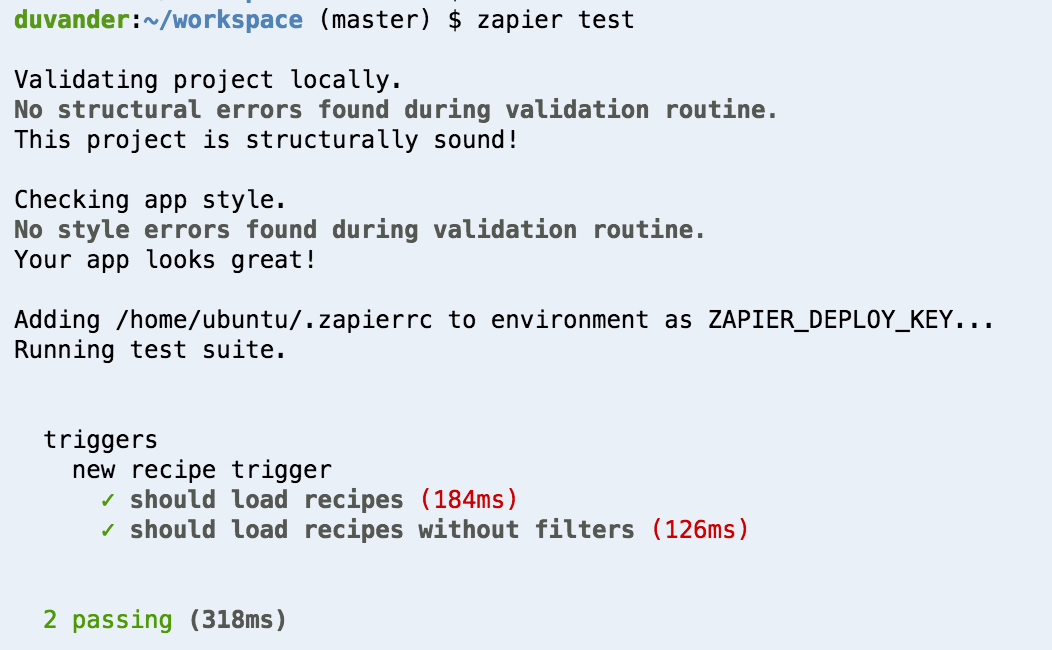
It passed! With these elements in place, I’m ready to make edits to my app, either in the built-in editor or using your favorite terminal-based editor.
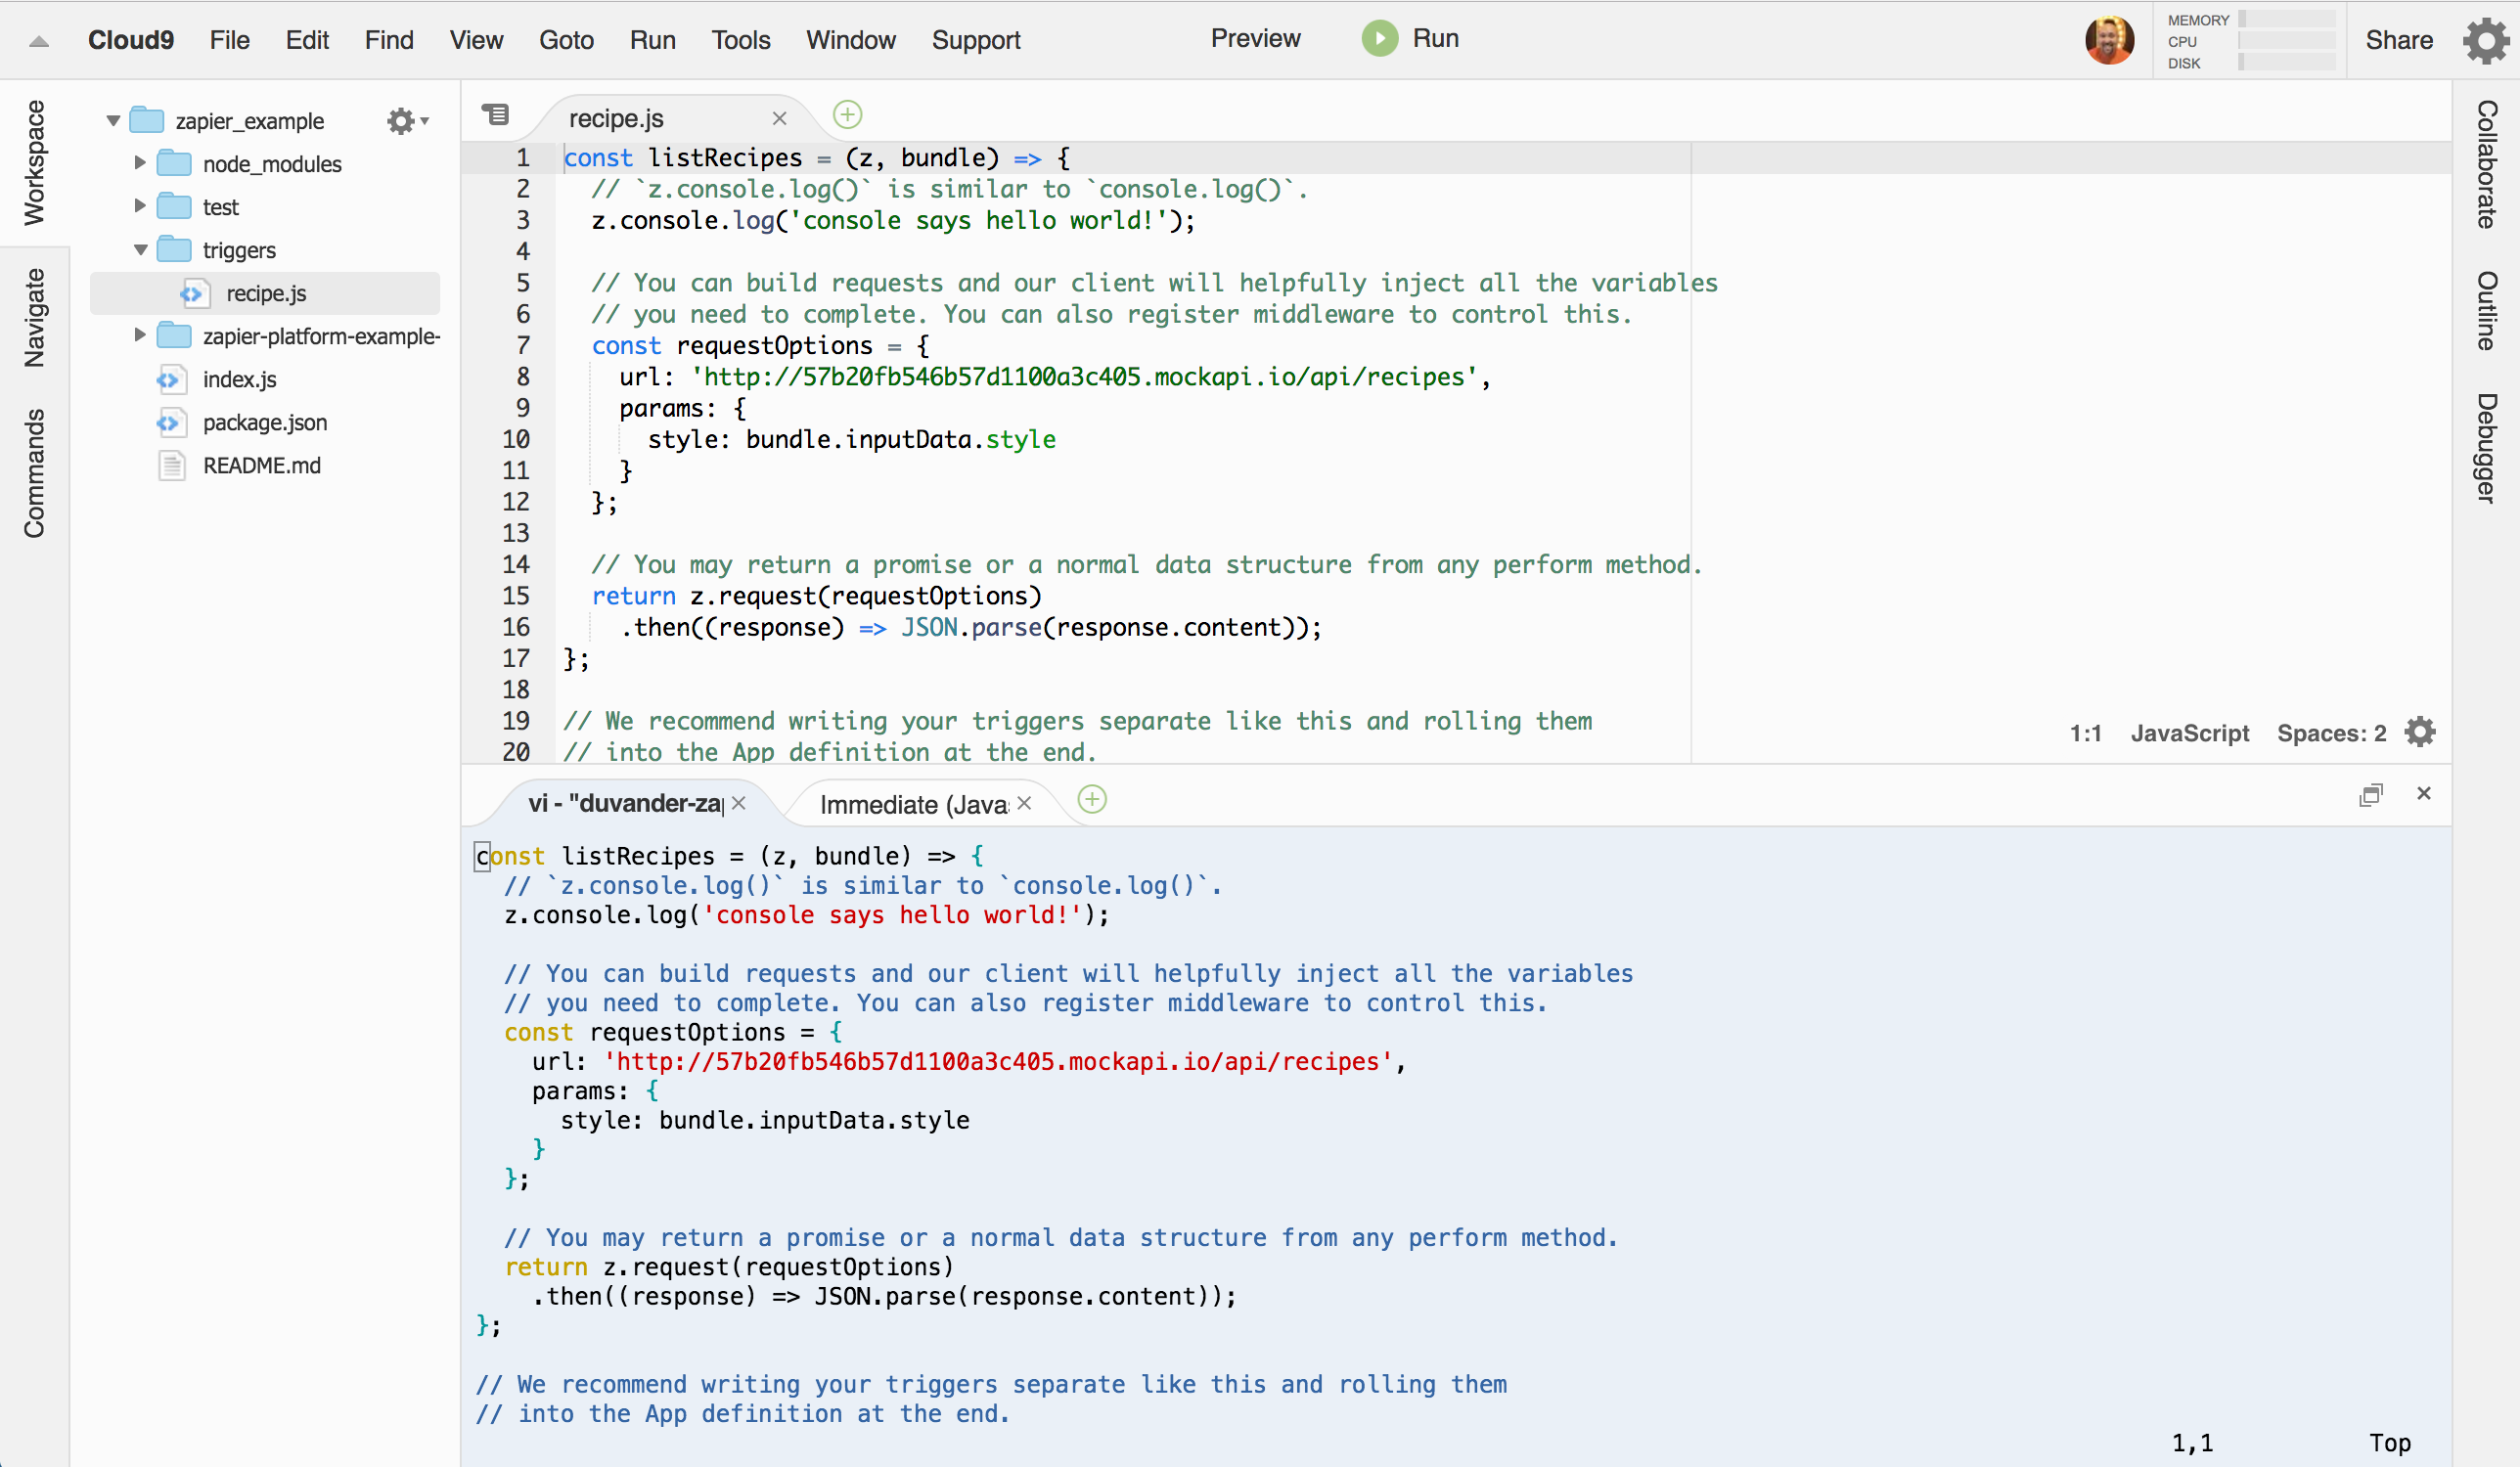
Cloud9 does not keep free accounts running, a concept it calls Hot Workspaces. They’ll keep your files there, but it’s the cloud equivalent of putting your computer to sleep after a while. When I returned, I just needed to switch Node versions to pick right up where I left off.
CodeAnywhere
For Extensibility
CodeAnywhere has its promise right in its name. It even works on phones and tablets, for a customizable workspace that adapts to how you want to use it. The many options mean there’s a little more learning curve to CodeAnywhere, though you can get started there without a credit card. Boasting 75 programming languages, you’re likely to find what you need.
Once you’ve activated your account, I used the Connection Wizard to select Node, since I’m trying to complete the same steps as before with the Zapier CLI.
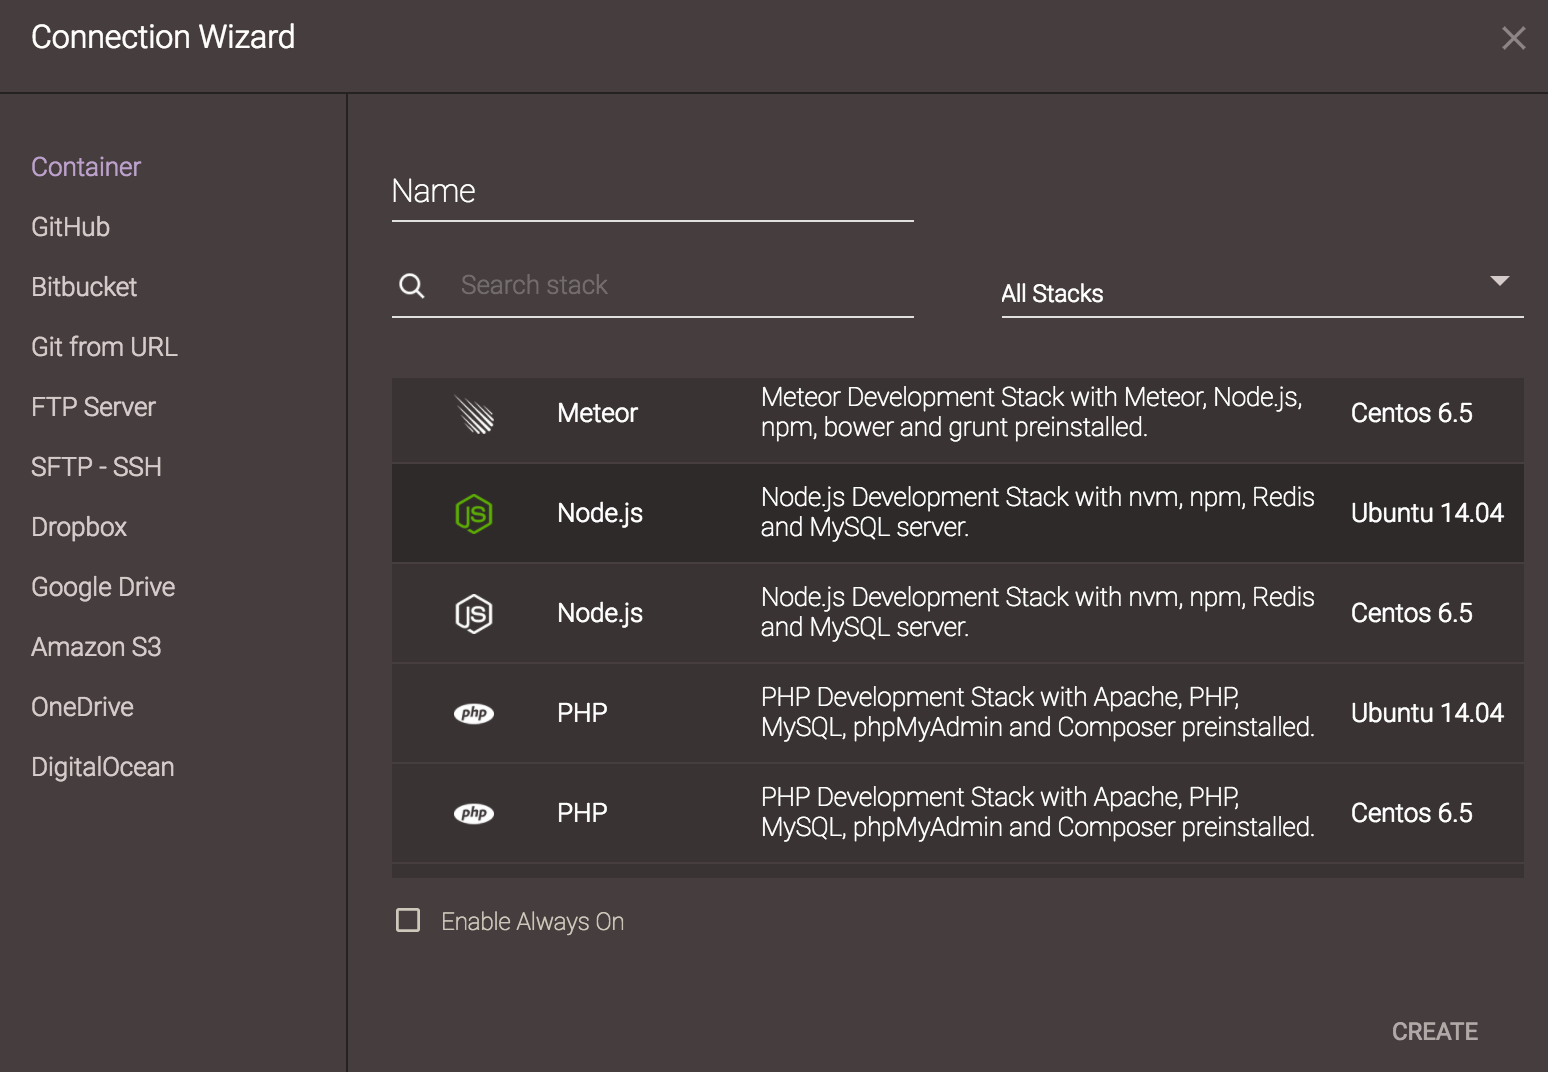
My first time through, I tried using the Git from URL option, but it didn’t end up cloning my repository. Starting with a fresh Node connection seemed to work fine, however.
CodeAnywhere will then create your workspace, including a file editor, terminal, and many other tools. You’ll find many of these available within context menus, so if you can’t find anything you may need to right-click (or ctrl-click).
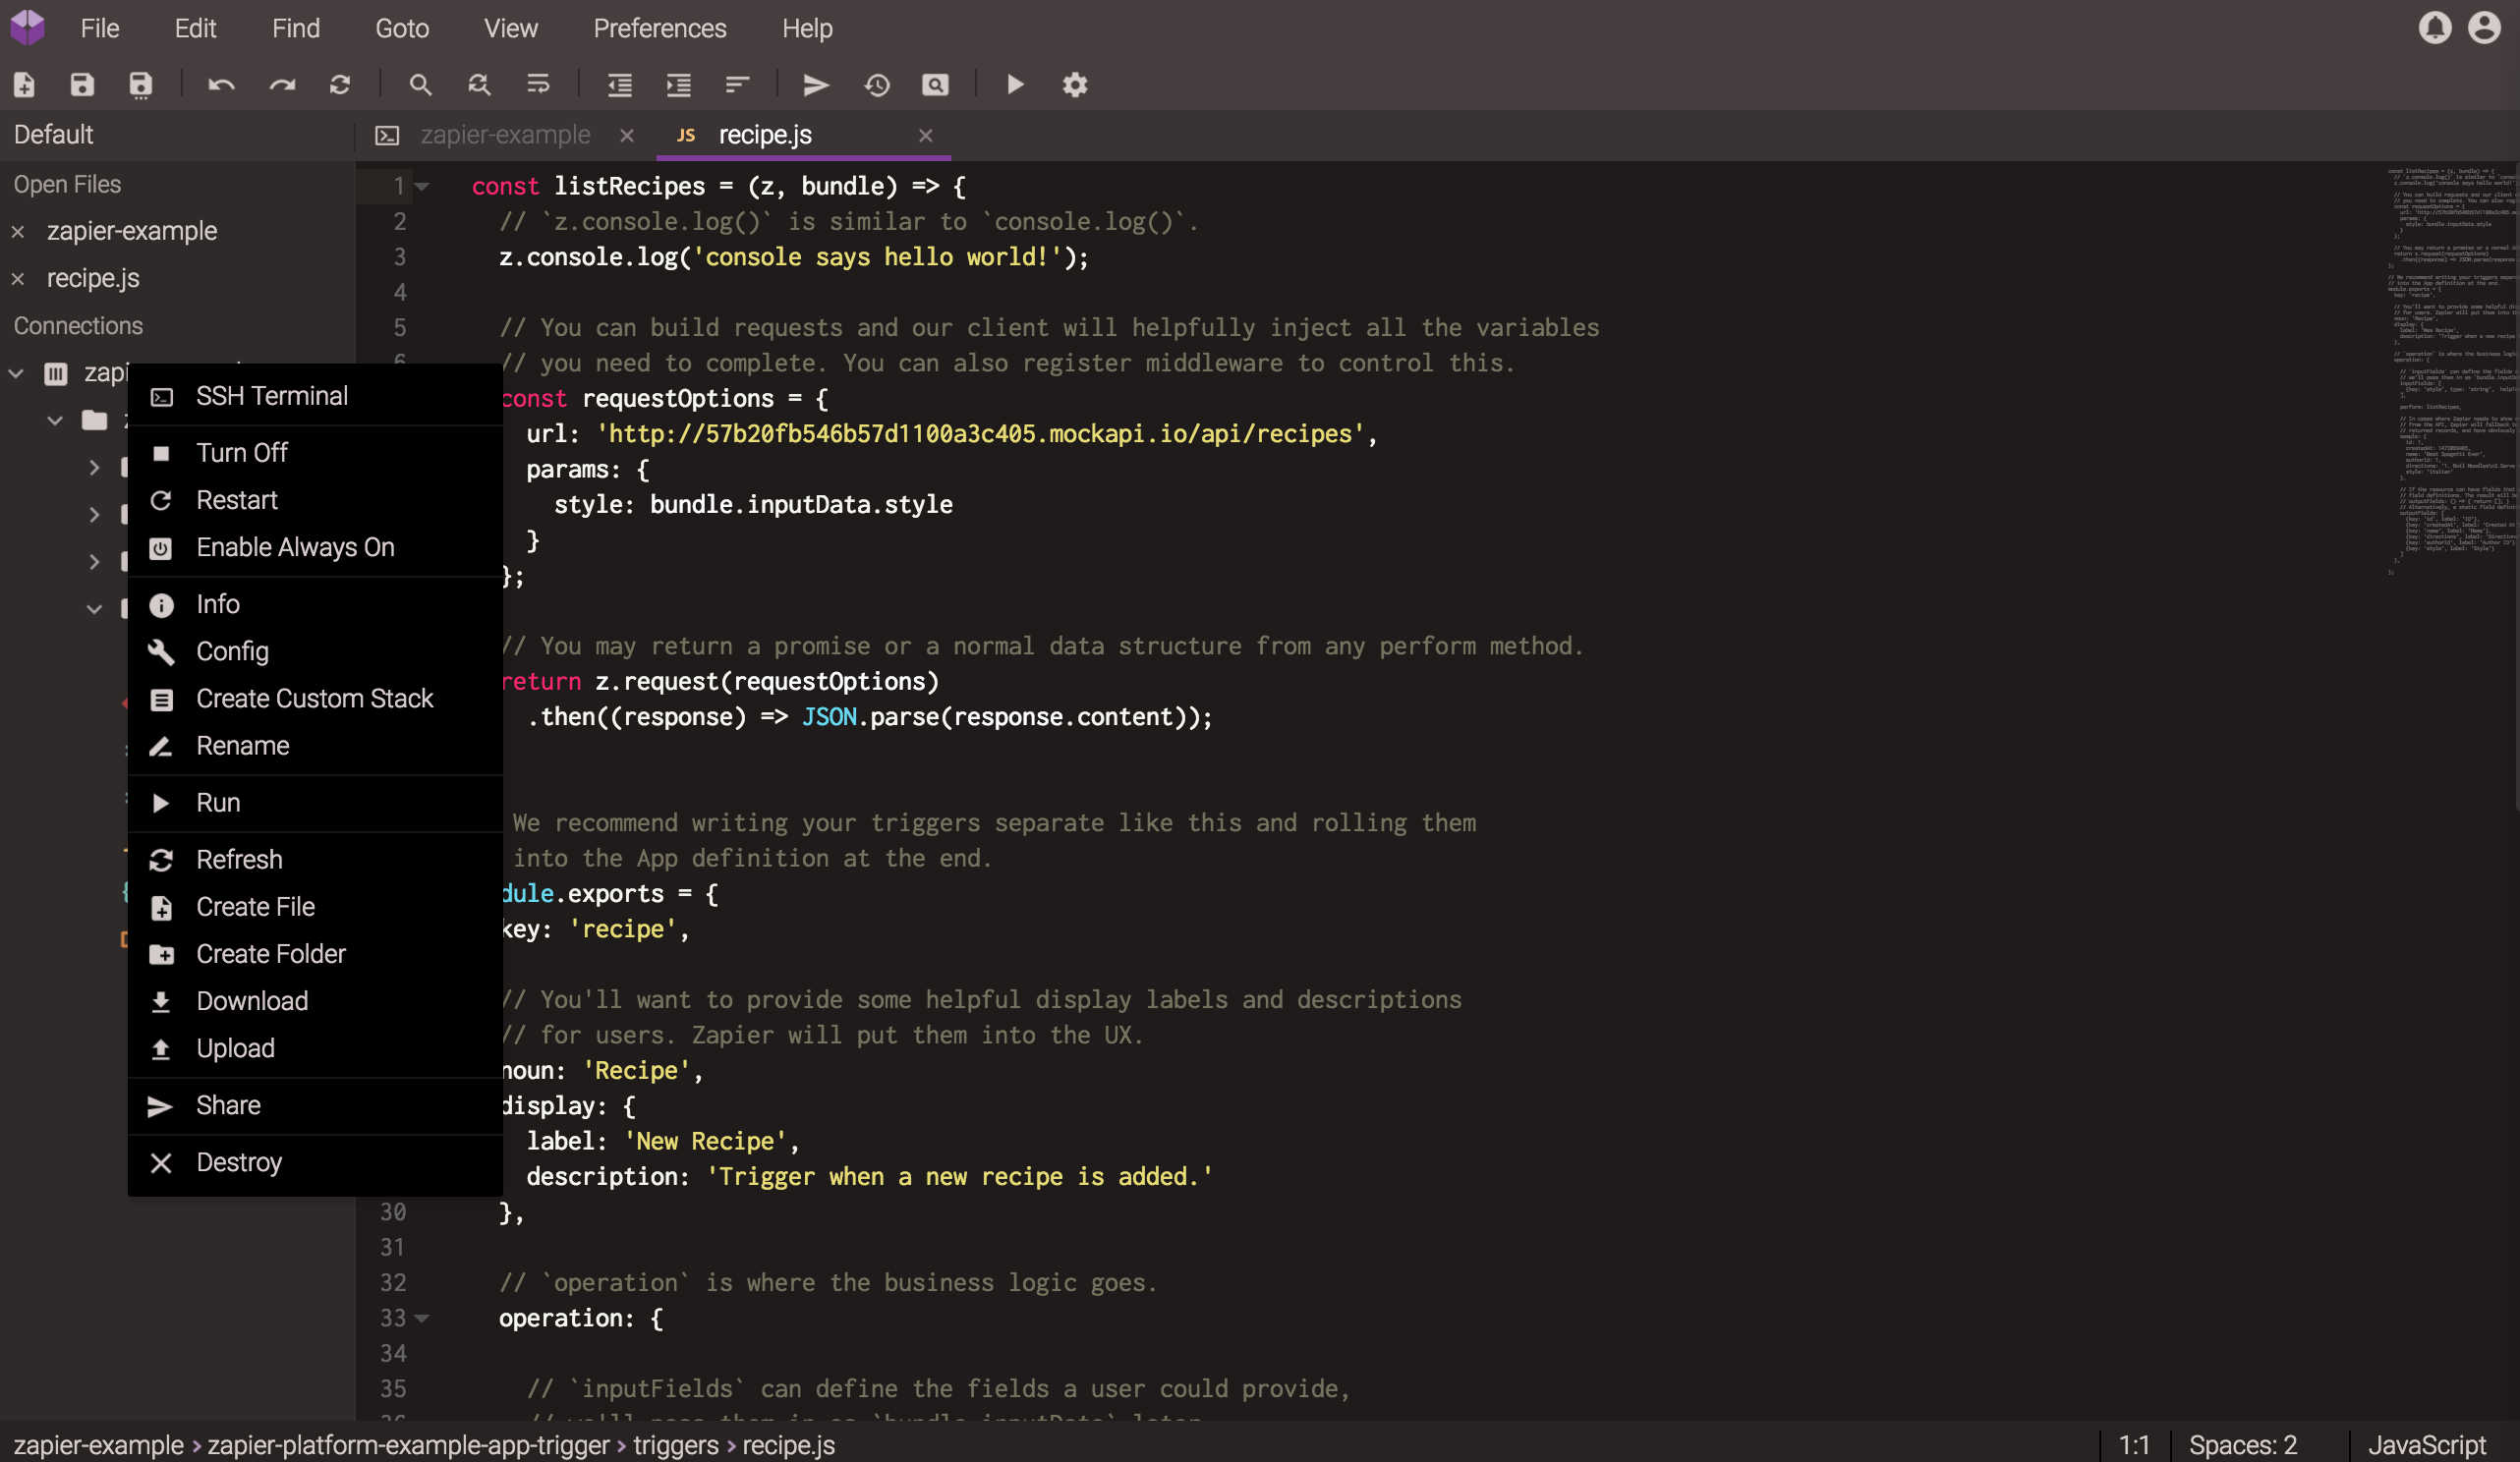
First things first, I checked for the tools I expect to see, and just as in Cloud9, they were all there. So, I followed the steps to get ready for the Zapier CLI, first installing the required version of Node:
nvm install 6.10.2
Then, I installed the CLI globally using NPM:
npm install zapier-platform-cli -g
Since I wasn’t able to clone the Git repository at startup, I used the Zapier CLI to bring in the same sample app:
zapier init . --template=trigger
Lastly, I installed the sample app’s dependencies:
npm install
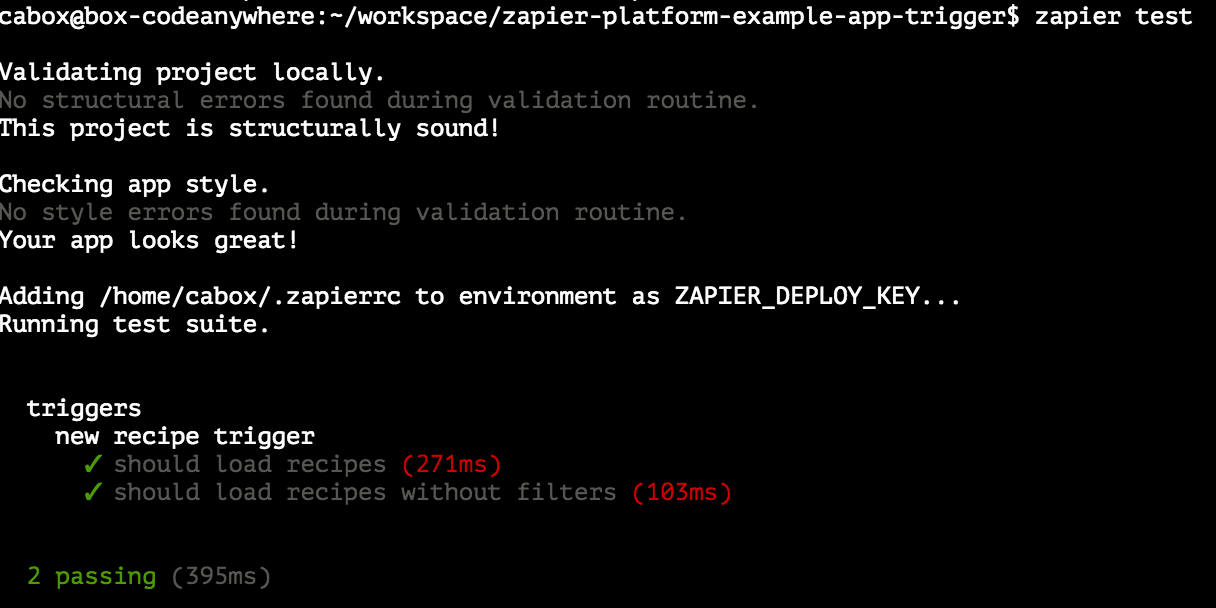
Now we can build our app, authenticating with zapier login (using your Zapier developer account credentials) and running zapier test as we make changes.
CodeAnywhere allows you to rearrange your workspace, splitting screens vertically or horizontally as needed. You can also drag tabs around between frames, keeping your development environment arranged as you like.
Codenvy
For a Self-Hosted Path
Codenvy, now part of Red Hat, includes a hosted solution at codenvy.io, as well as the enterprise open source approach we’ve come to expect from Red Hat. You’ll find many of the same features, with an emphasis on small team usage, but a little less polish than on the other apps.
Importing my example app works as you would expect, with a handful of options for how I want to import it.
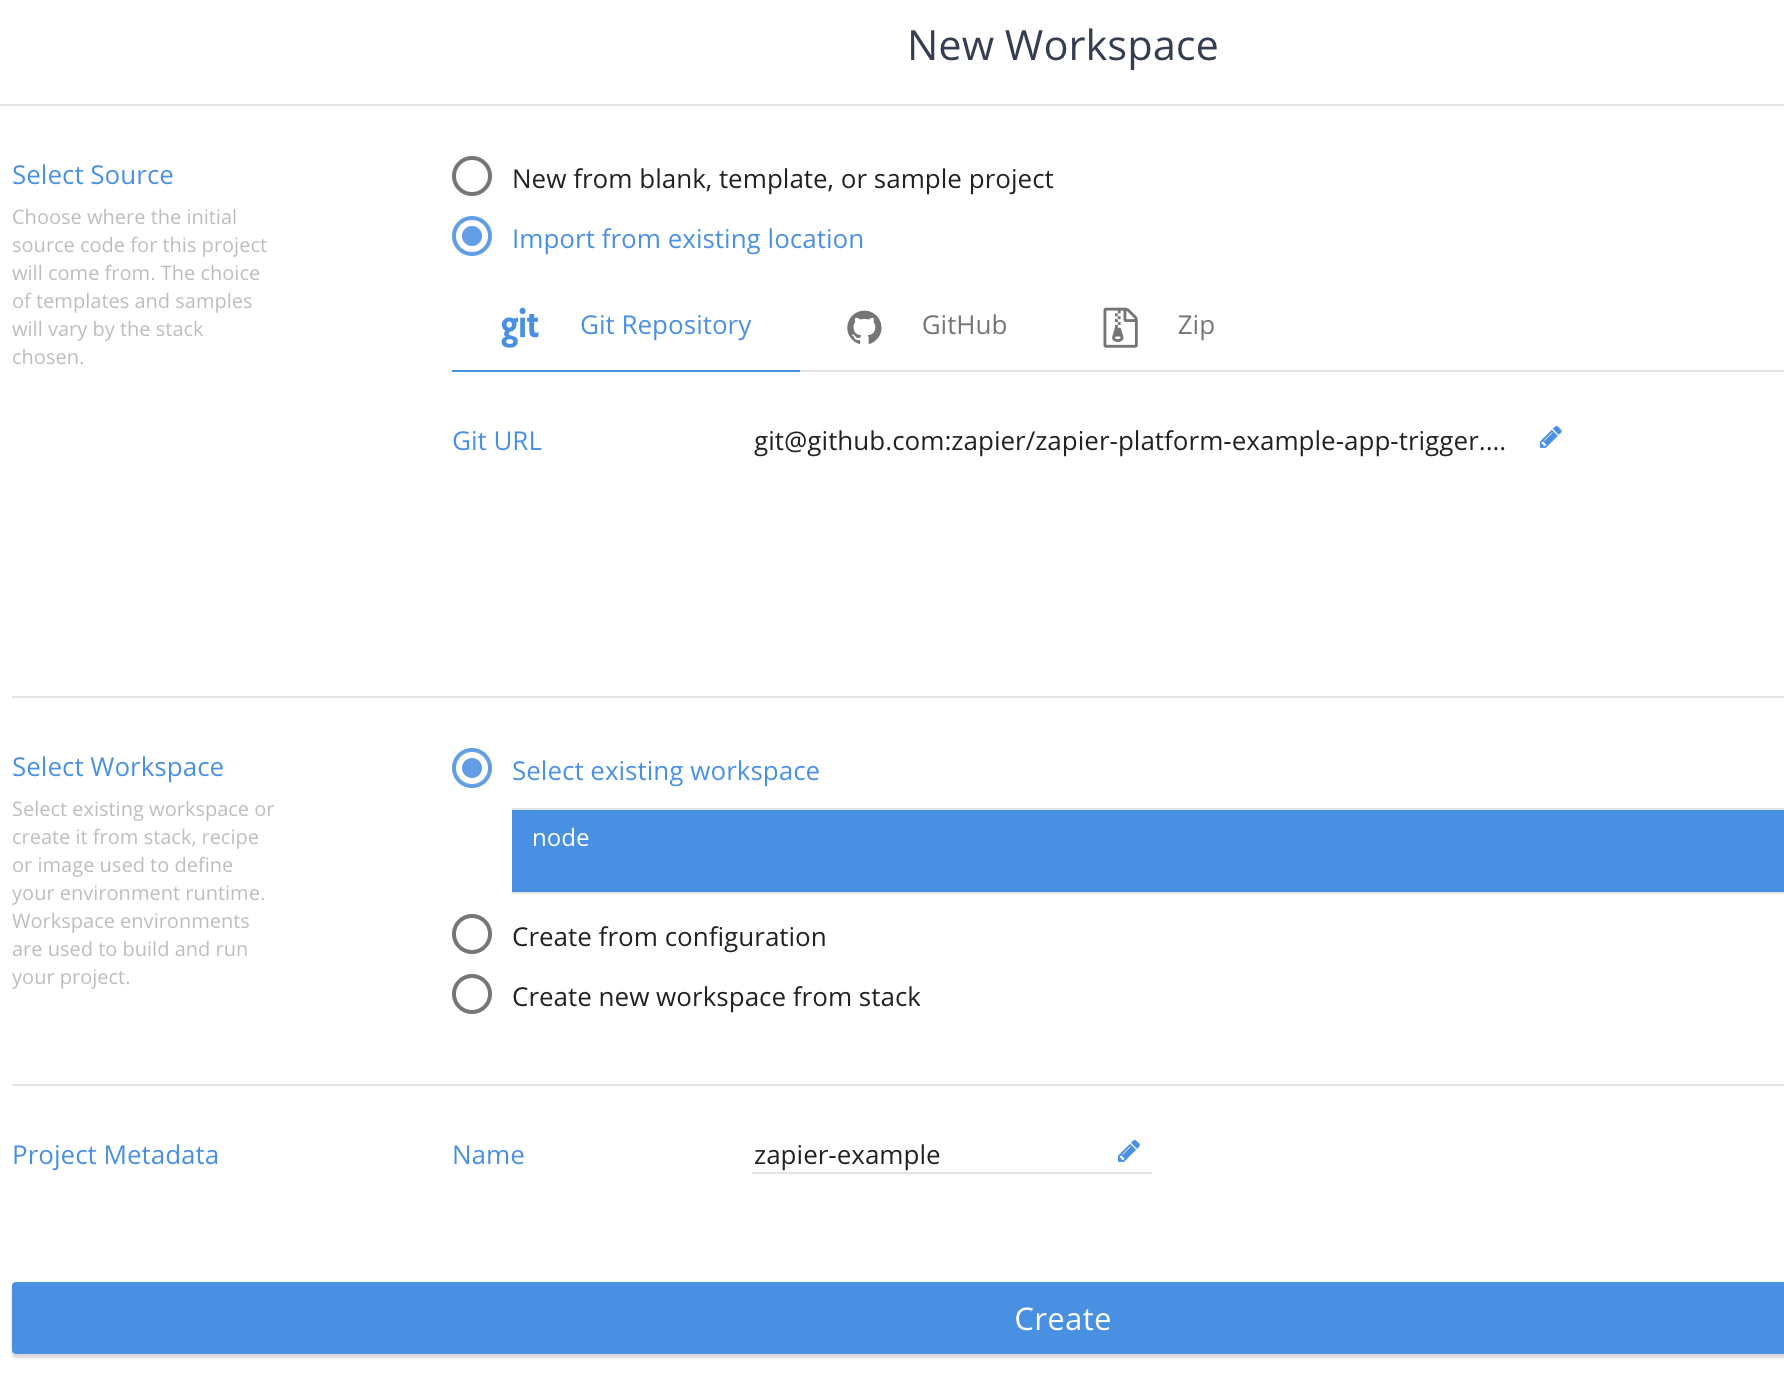
While Node, NPM, and Git were all installed as expected, Codenvy didn’t have Node Version Manager (NVM) installed. I needed to install nvm myself from the command line.
I was then mostly able to follow the steps in previous cloud IDEs, although I needed to use some super powers for the Zapier CLI:
sudo npm install zapier-platform-cli -g
With my repository already in my workspace, I just need to install the dependencies (this time without needing super powers):
npm install
Finally, we can run zapier login and zapier test to see our app is ready for editing:
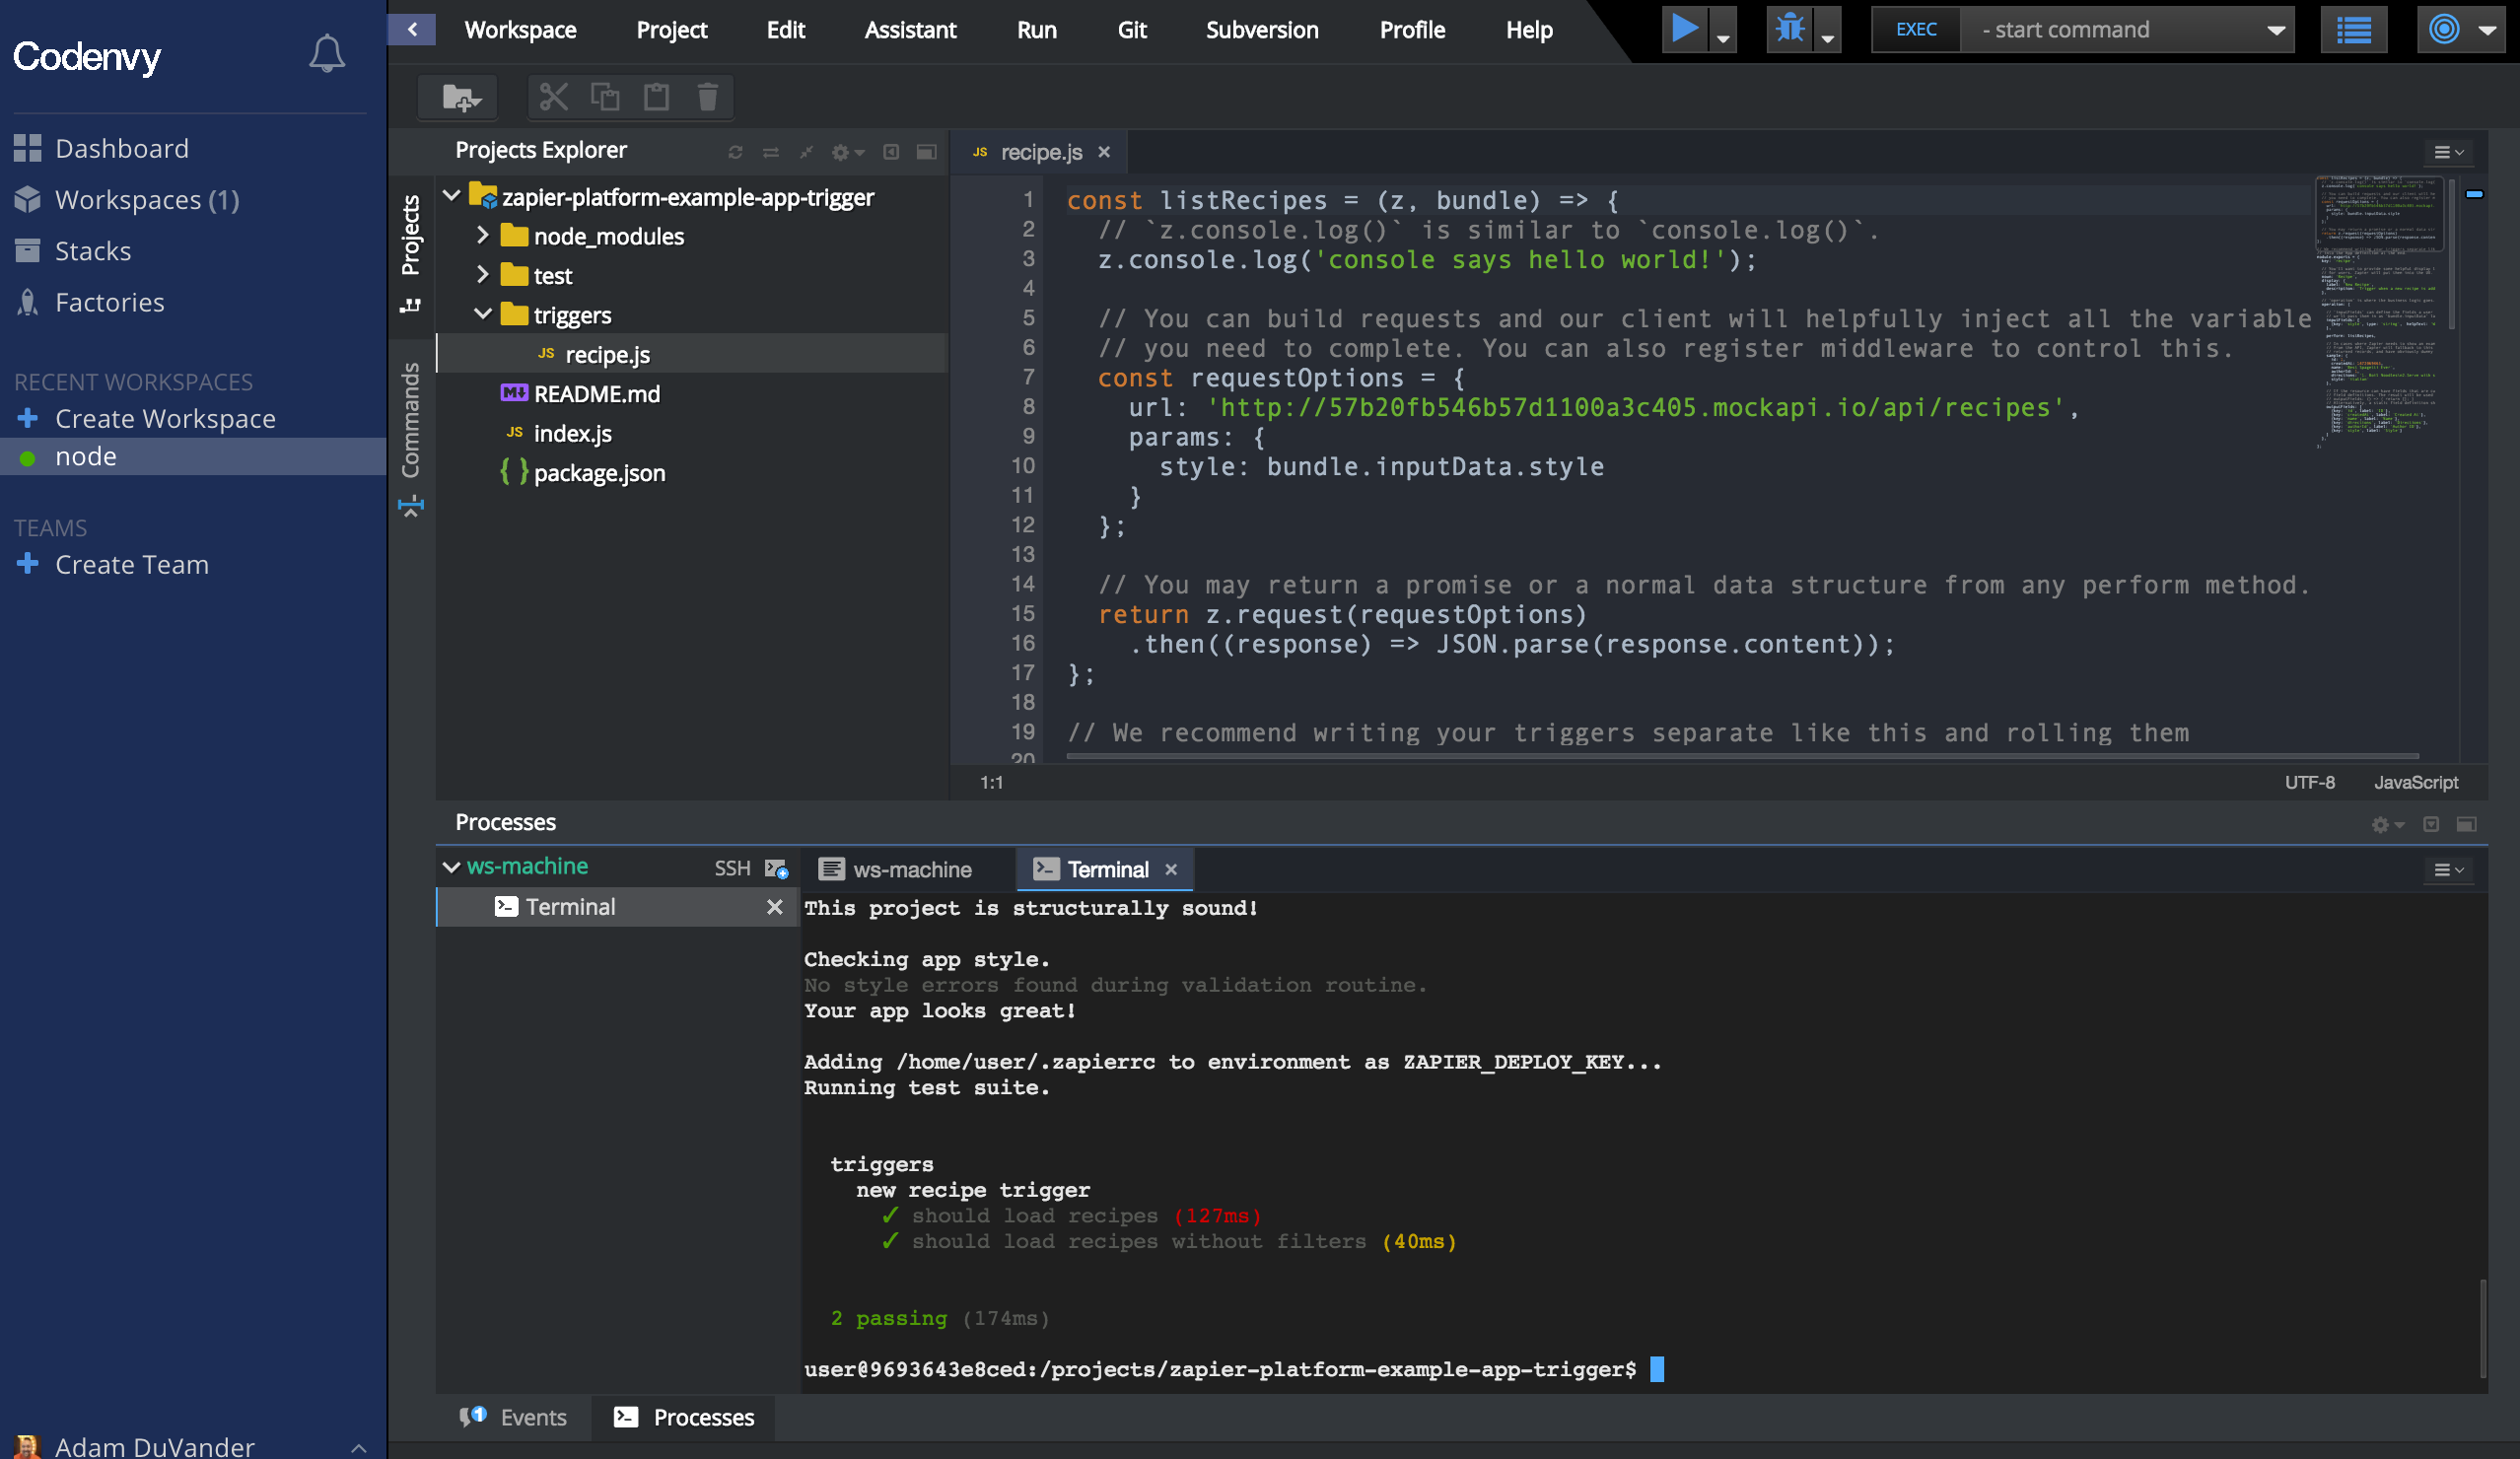
Though Codenvy gave me a couple trip-ups getting started, it appears to work just as well once it’s set up. With a generous free plan and an open source approach, Codenvy is a good choice even if you don’t plan to go self-hosted in the future.
Honorable Mentions: Koding, Codiad
Cloud9, CodeAnywhere, and Codenvy aren't the only cloud IDEs you should try. These two others didn’t quite fit the use case I wanted, but seem like good choices for others looking to improve their development environment.
- Codiad is a web-based IDE that is self-hosted. The project is open source, but you’ll need to deploy to your own infrastructure.
- Koding may look like the others on this list, but its cloud IDE is intended for "quick fixes and collaboration,” as described in the post Koding is not an Online IDE. Instead, Koding focuses on consistent developer environments and connects workspaces to local IDEs.
What’s Next: Use Your Cloud IDE
Now that you’ve chosen your cloud IDE, it’s time to use it. With a command line built into the options above, you can commit to source control and deploy from any of them. See how fast you can connect your API to Zapier by using the Zapier Platform CLI with one of these cloud IDEs.
Comments powered by Disqus